Heyo,
Welcome to my latest post, this time round we are looking at decorating mirror's it's quick its easy and it's fun.
I break out my Geek.
Most of my supples come from my local Art's and Crafts Store, and The Reject shop.
Make sure to cheek out my Other Decorated Mirrors below.
Welcome to my latest post, this time round we are looking at decorating mirror's it's quick its easy and it's fun.
I break out my Geek.
Most of my supples come from my local Art's and Crafts Store, and The Reject shop.
Make sure to cheek out my Other Decorated Mirrors below.

What I used/Use.

- Circle Mirror: you can use any shape but rounds all I had available to me at my local craft shop.
- Assorted Glitters
- Assorted Stickers: make sure it fits your mirror over flow is yuck!
- Clear Glue Or Glue that dry's clear
- Clear Nail Polish: Optional
- Decals/Rhinestones: Optional
- Thread or Paper clip: Optional if you wish to use the mirror as a wall decoration
- Scrapbook Paper and/or Decorative Card: Optional


To begin with I pick out my Sticker, you could also use a picture print out or a picture that you've drawn.
I go with Stickers mainly because I have so many and I need to rein my printer hehe....
Today I decided to do a Geekie Mirror, with the new Star Wars coming out I decided this would be a good time to let my Geek shine.
I go with Stickers mainly because I have so many and I need to rein my printer hehe....
Today I decided to do a Geekie Mirror, with the new Star Wars coming out I decided this would be a good time to let my Geek shine.
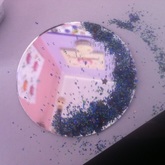
Stage One: Glitter it all

I normally base my Glitter colour/mix choice around whatever sticker I'm going to use.
I personally prefer to use Clear Nail polish to Glue my Glitter onto my mirror then Glue though it is possible to do it with Glue. I simply find it easier with Nail polish.
It dry's quicker then Glue which means you can spend less time making your Mirror Art and more time Enjoying it.
For this mix I used, White, Green, Light Green, Blue, black Star shaped nail art things.
First of all I layer down a section of Clear nail polish, and pour over the Glitter.
(Side Note - Make sure to have a piece of paper underneath so you don't wast any Glitter)
Repeat until you've covered as much of the Mirror as you desire then over top of that use another two layers of Clear nail polish OR Glue to keep all the glitter in place.
(Side Note - Make sure to have a piece of paper underneath so you don't wast any Glitter)
Repeat until you've covered as much of the Mirror as you desire then over top of that use another two layers of Clear nail polish OR Glue to keep all the glitter in place.
Stage Two: The Sticker.

Well the second layer of Nail polish is drying stick on your Sticker, also if needs be use the nail polish/Glue to stick the sticker down completely.

Then To blend in the sticker use some more glitter to cover up the edges of the sticker that over laps the areas where you put Glitter.
Stage Three: The Decals.

This is an optional step, int he past I've simply used coloured nail polish or nothing at all.
However since I've gone all out with this Mirror I decided to finish it off with some Star war's esk. decals.
However since I've gone all out with this Mirror I decided to finish it off with some Star war's esk. decals.
Stage Four: Sealing the Deal.
After sticking on all parts leave the Mirror to Dry for an hour so that it's completely dry once you go to seal it up so it doesn't get moved out of shape.
After finishing off the decorating, Running your glue/nail polish over the whole mirror or even just over the sticker, will keep the Mirror lasting.
The wait another hour before attempting to back it.
After finishing off the decorating, Running your glue/nail polish over the whole mirror or even just over the sticker, will keep the Mirror lasting.
The wait another hour before attempting to back it.

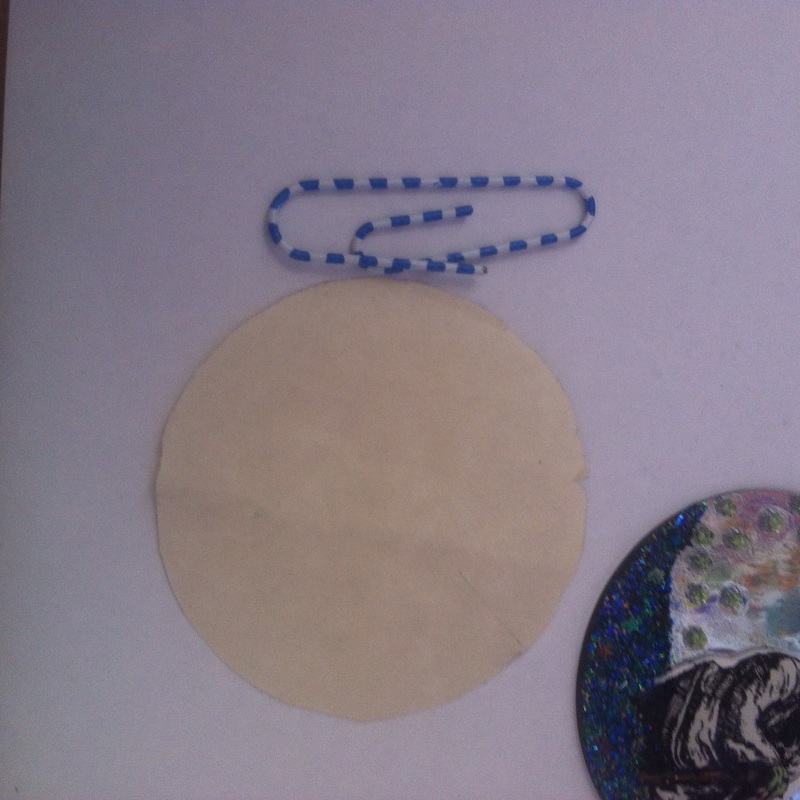
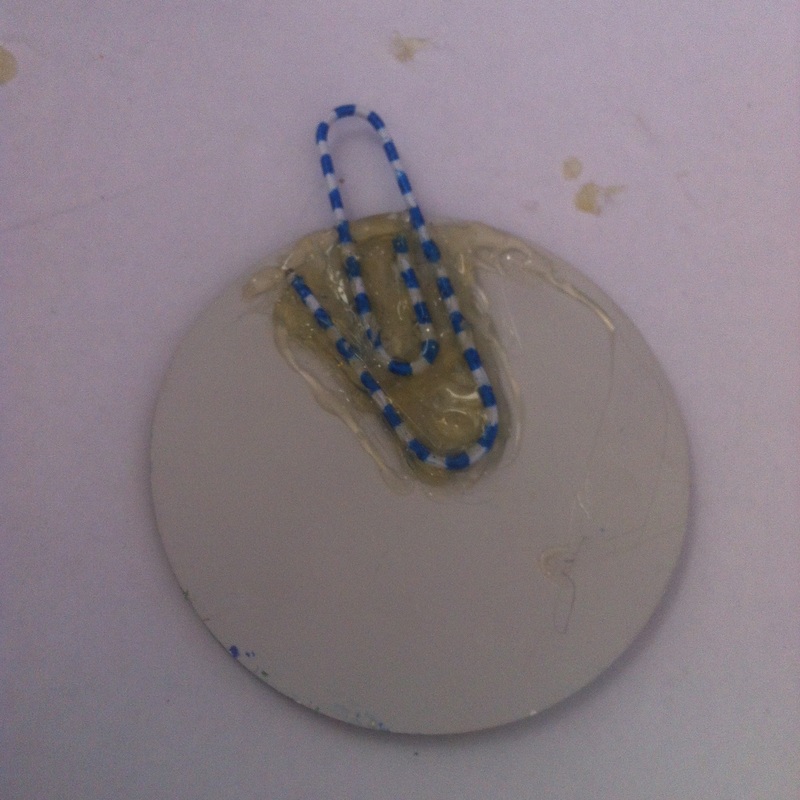
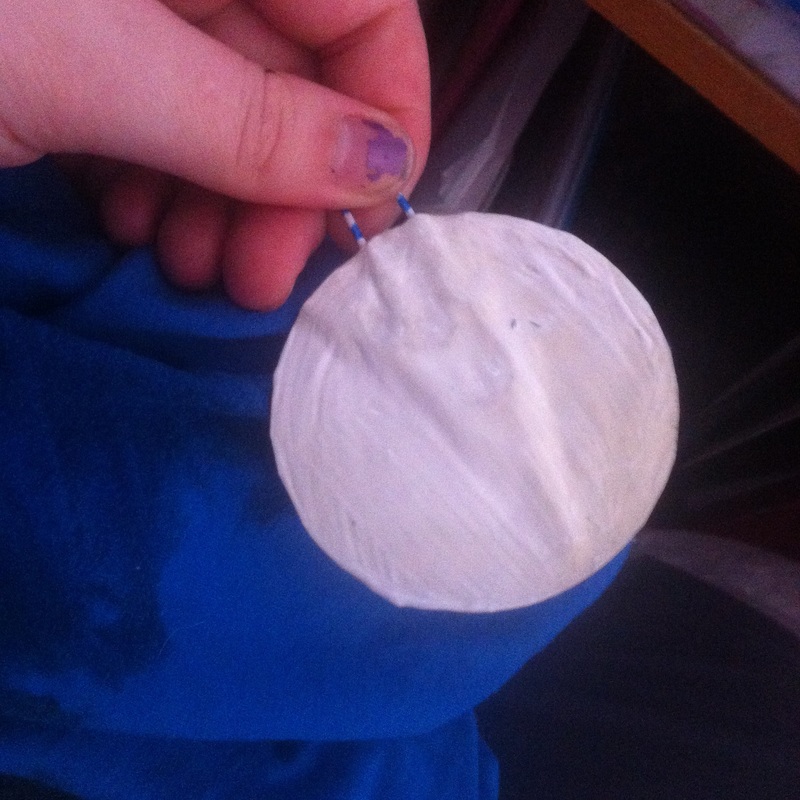
Stage Five: Hanger (optional)
What you need:
Scissors, Hot Glue Gun/Superglue, Pencil.
Scissors, Hot Glue Gun/Superglue, Pencil.
This step is only needed if you want to hang up your mirrors and since I like to have the option there I've picked out some coloured thread to use as the hanger
 | 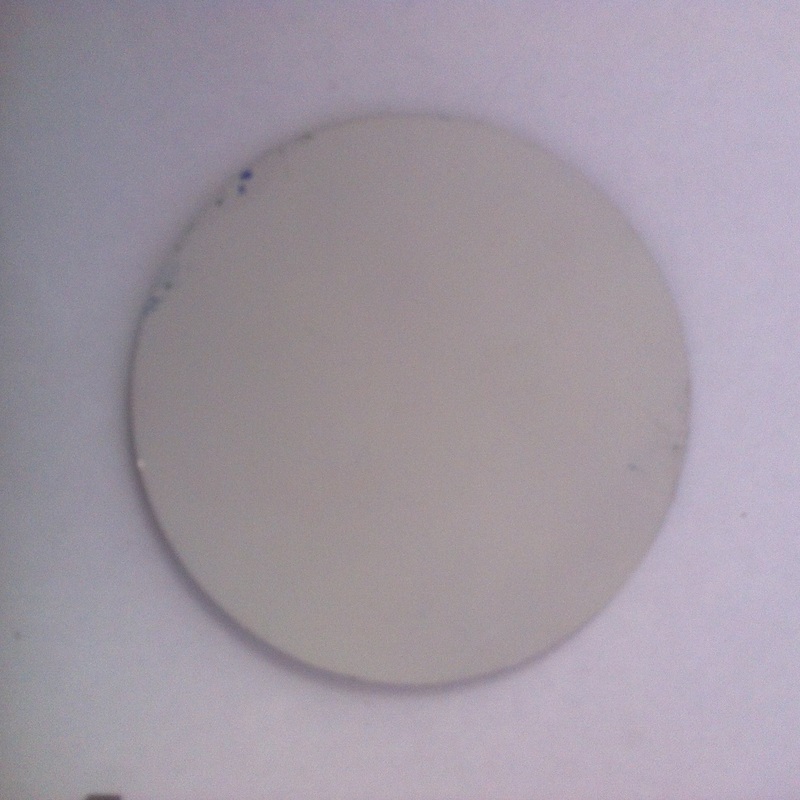 |  |  |

The Completed Mirror Deco

Click for Better Picture.

Thank you for taking the time to read threw my Post, if you have any comments, suggestions, questions, ideas please leave the in the comments section.
LeahOut
xoxo
LeahOut
xoxo


 RSS Feed
